

How to make { the best! } gourmet bison burger at home!
I LOVE bison burgers. I suppose that's probably a given, since you're on a website called "The Bison Girl." I also love sharing bison burgers with friends and family and introducing them to how awesome bison burgers can taste.
My cousin recently moved to Lincoln and she still hadn't had a bison burger yet, so after she got settled in, I invited her over for one.
Over the few years I've been associated with my company, I have come to cook many bison burgers, and, I think, I've gotten pretty good at it. As burgers have always been one of my favorite foods, and I realized some time ago that I always enjoyed them even more in steak houses or burger restaurants, I taught myself some time ago how to cook a restaurant quality burger.
When it comes to bison burgers, my theory is that you're paying extra for this better quality meat, you should make a better quality burger. Don't skimp on any of the ingredients.
You might think I have a lot of steps and instructions for making a simple burger, but these steps are, in my opinion, what can take a burger from average to fantastic.
Here's what we start with... the star of the show... Ground Bison Burger! Really, with ANY burger you make, you should really make sure you're starting with a good quality meat. The Ground Bison from NebraskaBison.com is raised ethically and naturally, and offers incredible flavor.
Now, I've heard people state before, and I've even had people tell me that you have to add ingredients to bison burger to hold it together or to make it juicy. And let me tell you, firmly, that is a MYTH. I've heard it all... that bison burgers are too dry, too gamey, too chewy, etc. I can tell you with certainty, that it's all in how you make it. If you follow the rest of my instructions, you will end with a tender, juicy and delicious bison burger.
So you can see from my next picture, that the next step is to form your 1 lb. of ground bison into a ball. This is 100% meat, there's nothing else in there at this point. Some people like to mix their seasoning blend in and that's perfectly fine, but otherwise... this is 100% bison.
Don't over handle the bison, only work it for as long as it takes to form it into 2 separate, equally sized balls. (This recipe is going to provide instruction for making 2 - 1/2 lb. Bison Burgers. That's how I make them and prefer them. This can obviously be modified into 1/3 lb., 1/4 lb or even sliders, however, sticking with the gourmet/restuarant quality theme, I recommend a big 1/2 lb. size.)
After you form your balls into equal sizes, place each ball between your hands and push down. Use your hand to mold the shape of the patty, keeping it rounded and formed together. It may start to fall apart a little on the edges if you don't use your hands to form the edges.
Shape the patty similar to the size you see below. You'll want to leave plenty of thickness in your burger, and obviously don't want to form it larger than your bun. Keep in mind, with bison there won't really be much shrinkage when you grill your patties, so the size you see now, is approximately the size you're going to get.
This is the point where I season the burger. I only season one side and season the top because, really, bison doesn't need a lot of seasoning or salt. You can see in the picture, that the seasoning I use is rather coarse and colorful. It's the NebraskaBison.com Steak & Burger Seasoning with Sea Salt and it's a great complement to bison.
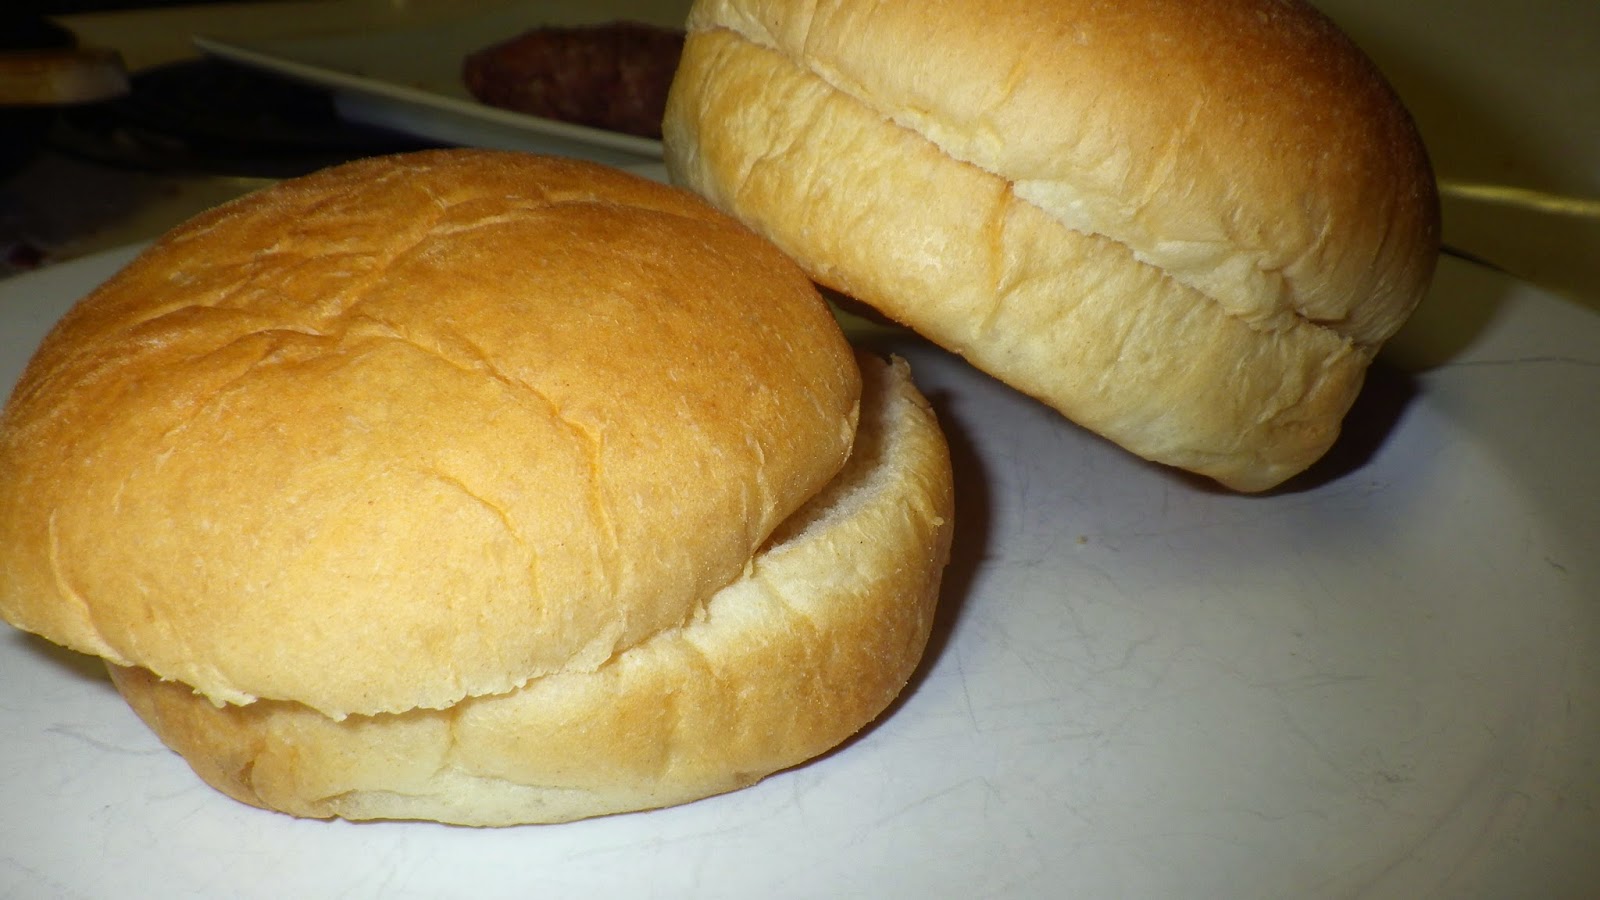
We're going to step away from the bison part of your burger for a minute now, and talk about the second most important part of your burger: The bun. Think about some of the best burgers you've ever had. Now think about the buns those burgers sat upon. I bet they weren't puny grocery store brand buns that fall apart the second you pick them up.
I bet they were nice, sturdy buns, probably slightly toasted and maybe even a little buttered on top.
Take your buns, and just before you're ready to put your burgers on the grill, lightly butter the insides of the top and bottom buns. Then spread just a bit of butter on the top bun. Trust me. It just gives the perfect finishing touch to what is going to be an amazing bison burger.
Now let's get back to the bison.
Make sure you're grill is pre-heated before you put on the patties. For a bison burger, you'll want to cook it at a grill temp somewhere between 300*-350*.
Place your patties on the grill to begin cooking.
While the burgers are on the grill is a great time to start preparing any condiments or toppings. Honestly, this is where I don't have a whole lot of opinions. Put whatever you want on your burger, really. I usually don't add on a lot of toppings. However, I do enjoy buttered onions on my burger from time to time, and I decided to prepare some for these burgers.
Slice your onion into rings and cut in half. Place in a small frying pan with a spoonful of butter and turn the burner onto medium.
Saute onions over medium heat.
The butter will obviously melt, and the onions will start to cook, become tender and begin turning golden brown.
The onions are done when they look like this. Don't you just want to put a pile of those on your burger right now??
Let's go back to the grill. You should leave the burgers on for about 6 and a half minutes before flipping. The top will have started to brown a little as seen below.
After you flip your burgers this is what they'll look like.
IMPORTANT! Do NOT press down on your burger with the spatula. I know it can be tempting, but please, PLEASE don't do it. Kick that habit right now.
Pressing down on your burger at any point in the cooking (or eating) process only serves to release the delicious juices from your burger and send them to feed the bottom of your grill. This will dry out your burger.
We're going to let these burgers cook for about 8-9 more minutes. The goal is for them to reach medium doneness. You can go a little less time and reach minimum rare or rare if you prefer. But don't go any longer.
A bison burger should have a little pink remaining in the center and should not be cooked past medium doneness. If you cook it past medium doneness, it will be tough, chewy and dry. I would hazard to guess that at least 90% of the people I mentioned above who call bison burgers tough or dry have had their bison burger ruined by cooking it too well-done.
When the burgers are a few minutes from being done, you'll want to take your buns out to the grill for toasting. Leave them on the grill for just about a minute, you do not want to char the buns. Toast them just long enough for the butter on top to melt and the bun to gain a very slight crisp.
Remove the buns from the grill and place on your serving plate(s).
I prefer cheeseburgers. So I always add a slice of cheese, just as the burger is about to be done. The cheese will melt very fast, so there's no need to add it with much time left. But you should add it while it's still on the grill so that it melts to your burger. No one wants a cold slice of cheese a top a nice, warm burger.
After the burgers have cooked for about 8-9 minutes after being flipped, it's time to remove them from the grill. Place each patty on it's corresponding bun and top with whatever toppings you prefer and the top bun.
Then enjoy it. And let me know what you thought! Excuse me while I go make my second bison burger of the week....
P.S. I apologize. I did not get a final, plated picture of my bison cheeseburger. I was much too excited to start stuffing my face to remember to take a picture. So make your own, then you'll see what it looks like finished!
Want to make your own delicious bison burger? You'll need to start by getting some bison meat -- here's a link:


Comments
Post a Comment